 San Serif")
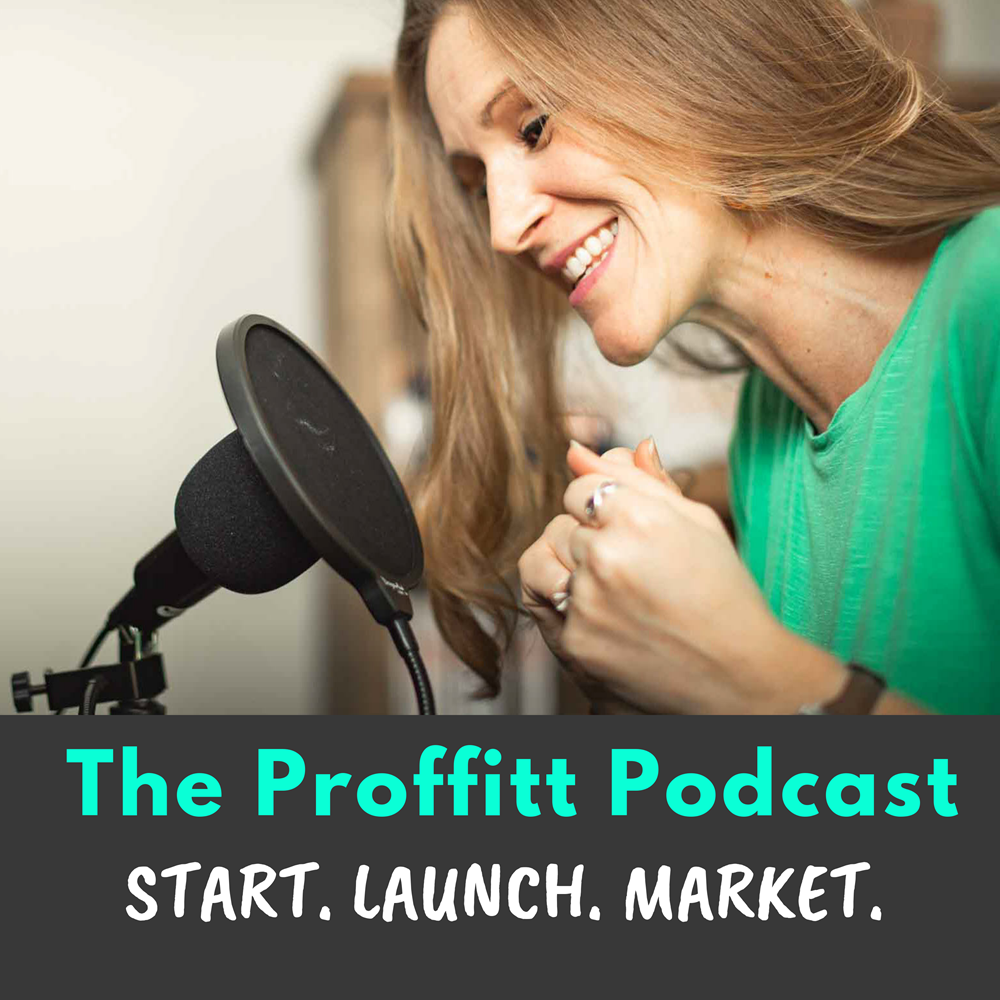

EXCLUSIVE SNEAK PEEK: “Start a Binge-Worthy Podcast”
SNEAK PEEK: “Start a Binge-Worthy Podcast”
Today, I’m doing an exclusive reading for my brand new book, “Start a Binge-Worthy Podcast”! Yes, this version is real and raw, and you can even pretend that we’re having our own little storytime.
Plus, I included the entire first chapter below so you can follow along with the audio version if you’d like. So, here we go…
Chapter One: Equipment
“What equipment do I need for my podcast?”
This is the question I see most often from curious new podcasters. And my response is always the same: it depends. It depends on your budget, your ambition, the quality of show you’re trying to produce, whether you have enough time to wait on equipment or you need to run out to the nearest store and grab it today, and more. There are many factors when it comes to choosing the right equipment for you and your podcast, but never fear. I came prepared with suggestions.
BASIC NEEDS FOR YOUR PODCAST
As we cover your podcast equipment, we’ll talk about your basic needs, optional features and upgrades to consider, my personal microphone recommendations, and your podcast setup. So, to kick us off, what are the basic needs to start your podcast?
1. Computer (with Internet)
2. Quiet Place to Record
3. Microphone
The computer with internet should be pretty self-explanatory, and we’ll cover software in depth in a later chapter. So for now, let’s go straight to item number two.
QUIET PLACE TO RECORD
There’s a lot of echo in my office. Like, I’ve literally tried everything that multiple sound engineers have suggested I try. Curtains over the glass doors and windows. Blankets on the floor. Blankets on the desk when I’m recording. Acoustic panels on the wall. Blanket over my head when I’m recording. (Of all of them, I hated this one the most!)
And that’s why I don’t record my podcast in my office. I’ve done as much as I can to get the acoustics just right, but I still record my podcast episodes in my closet from time to time.
I know what you’re thinking: “But Krystal, you teach podcasting. Shouldn’t you have a fancy studio with all the bells and whistles that you spent hundreds or even thousands of dollars on?”
Um, no. And I don’t recommend that for you either.
I encourage people to use what they have, and what does almost every single home anywhere have? A closet. And here’s why it’s ideal:
● There’s a lot of stuff in there. (Clothes, shoes, suitcases, hats, etc.)
● There’s carpet—or, if there’s not, it’s a small enough floor space that’s easy to cover with a cheap rug.
In my office, there are tile floors, there’s not as much stuff hanging on the walls, and there are windows everywhere. So it’s not ideal to record everything in my office.
I want you to find a great space within your home or your office where you can record your podcast with little interruptions and as little echo as possible.
OPTIONAL UPGRADE #1: A DOOR
“What could make this space quieter?” you ask. A door goes a long way in cutting out ambient noise. If you’re in a space you can totally control, that’s great, and a door may not make a difference. But if your household is anything like mine—I have three kids and a dog—then there’s a lot going on all the time. I have all kinds of people going in and out of my house on any given day. But at least my closet has a door!
Another way to cut down on distractions and interruptions is to tell everyone in the house, “Hey, I’m going in here for thirty minutes to an hour. Unless it’s an emergency, please don’t interrupt. This is really important!” Interruptions and distractions can kill your creative flow or steal your train of thought if you constantly have to hit “pause” when you’re recording. If you don’t have a door (and even if you do), try to find time to record when you’re either alone or have a solid chunk of time where interruptions are at a minimum.
There’s something magical about having a dedicated hour or two to record uninterrupted. You can batch all of your podcast content to get several episodes recorded at one time. But it’s a lot harder to accomplish that if you don’t have a door. Try to find a space where you can just shut people out (with love, of course) and tell them, “This is important. This is my recording space for now.”
FERVID OVER FANCY
Please don’t get caught up in the idea of trying to have a fancy studio. I get it. Of course, that is the dream. To walk into a fancy studio with beautiful equipment that works properly and has already been tested and set to the correct recording volume, so all you have to do is hit record.
But it’s not necessary to get started. Use what you have.
OPTIONAL UPGRADE #2: POP FILTER
Another piece of optional equipment is a pop filter. You’ve probably seen these on talk shows, images of radio DJs, or footage of a recording artist in the studio. This is a piece of soft, round, mesh-like material that attaches to the microphone. What’s the purpose of a pop filter? Well, I’ll just give it to you straight: it’s a spit catcher. Nope, that’s not the technical term. That’s what my mom calls it. (Again, we’re fervid, not fancy, ‘round here.) This piece of equipment is important for catching and deadening the sounds of those puffs of air that come out of your mouth when you say a sound with unintentional added emphasis, like “P” (-puh-), “B” (-buh-), “Ch” (-chah-), “T” (-tuh-), or “Th (-thuh-). If you want to know the technical term, these sounds are called “plosives”. (My editor told me that, by the way. I’d never heard the term plosive before. But it’s totally appropriate because they sort of explode out of your mouth!)
My pop filter really comes in handy for me. I mean, my name is Proffitt and I talk about Podcasting. It’s a lot of mouth noises. If you, too, find yourself making lots of extra sounds when you talk, I suggest investing in a pop filter. It reduces a lot of those noises when you’re recording your podcast. Again, this is an optional feature. It’s totally not required, but it’s a good idea.
OPTIONAL UPGRADE #3: HEADPHONES
“Why do radio DJs and recording artists wear headphones?”
This was a legit question I had when I first started podcasting. But I quickly understood why I needed them when it was time for an interview. First of all, I’d hear feedback from the other person’s audio if my mic caught their audio from my speakers, right? But there was something else I hadn’t considered when I first started podcasting: my voice volume.
I’m a loud person.
It’s the reason my parents picked my voice out of the crowd when I was cheering at a football game. Imagine them walking to find their seats during the first quarter. “Where’s Krystal at? We need to sit where we can see—never mind. I hear her. She’s closer to the thirty-yard line down there.”
When I start talking to my husband first thing in the morning (mind you, I normally have my coffee well before he does), his first reaction is usually a hand gesture that looks like him turning the volume down on my voice. Sometimes he’ll say, “You’re at a ten. Can you take it down to a three?” I can’t help it. I’m naturally a very loud person. So how do earbuds and headphones play into the picture here? When you have headphones, you can listen to the sound of your own voice when you’re recording solo, and you can listen to someone else more easily. I must admit that I don’t always use my earbuds when I’m recording solo episodes, but I always use them when I’m recording interviews.
For my podcast, I conduct most of my interviews through Zoom. We’ll get to that in Chapter 9, but I just want you to make sure that you have all the equipment you’re going to need. That way you can zoom through the next chapters and be ready for those first interviews. I know you’re already eager to get there!
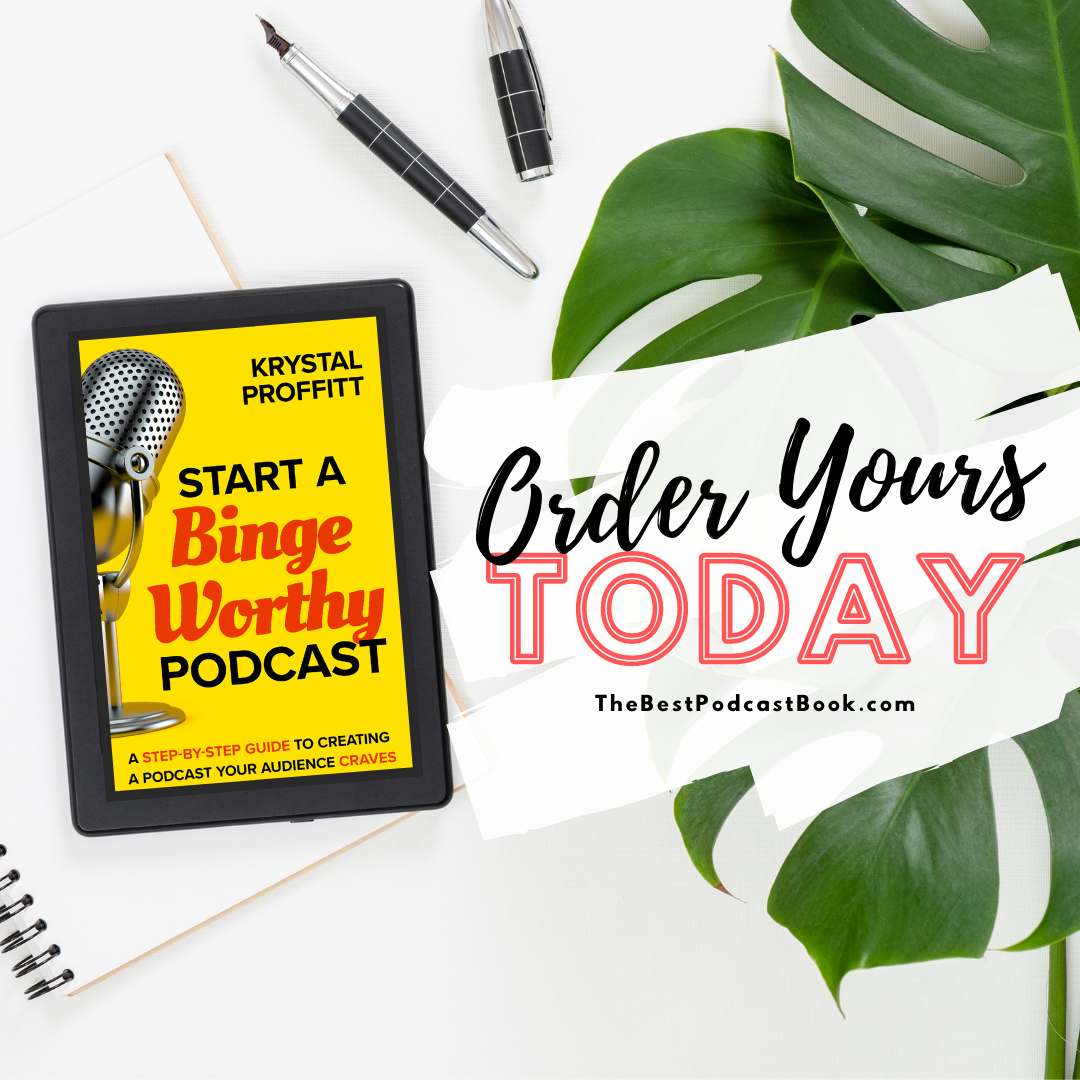
Have You Ordered
Your Copy?
OPTIONAL UPGRADE #4: BOOM ARM
“How can I maximize the space on my desk to podcast?”
This is a piece of equipment that I didn’t use until I was well over a hundred episodes into my podcast. But many of my students use these and one in particular said, “It’s worked out really great for me. I love that I can literally just push it out of the way when I’m not using it!” And now that I have one too, I 100 percent agree with her!
A boom arm is a piece of equipment that attaches to the edge of your desk and holds your microphone in place. It gives you the ability to swivel your microphone back and forth when you’re recording and then push it out of the way when it’s not in use. So, if you’re tight on space and don’t have a lot of room to keep a microphone on your desk at all times, this might be something to look into.
OPTIONAL UPGRADE #5: ACOUSTIC PANELS
“How can I get the best sound in my echoey space?”
As I previously mentioned, I’ve tried everything to make my office less echoey, and one suggestion from an audio engineer was to try acoustic panels. While the ones I tried didn’t work out well for me, I think they are an effective solution for some people.
The cheap ones I purchased did help a little bit, but if you’re going to go the route of putting panels on the walls, I’d look into buying thicker, heavier duty ones. If you have the budget and you’re able to invest in high-quality acoustic panels, you can definitely create a space for a higher-quality sound.
QUICK NOTE ABOUT SOUND & EQUIPMENT
MICROPHONES
My journey with podcast equipment has taken me from buying a twenty-one-dollar microphone on Amazon to spending hundreds of dollars on one piece of equipment just to test its in-person interview capabilities. I’ll share two of my longstanding favorites here, but I want to be very clear on one thing when it comes to microphones: stay within your budget.
There’s no need to go into debt for podcast equipment. You can do just fine with the first microphone I used when I got started. I even used it through the first thirty-eight episodes of my podcast and still use it on occasion.
The Fifine USB Microphone was my first mic, and it was so easy. The USB cord plugs directly into the computer and you can start recording immediately. I used it with the pop filter and it worked great.
You can invest lots of money in a fancy microphone and recording equipment, but if you’re recording space isn’t properly treated to absorb sounds, then your time, money, and efforts will be wasted. It’s better to invest your energy in making your space sound better than it is to show off the price tag of your “fancy” microphone.
When I received a one-hundred-dollar Amazon gift card, I upgraded to the Blue Yeti USB microphone. I love the different color choices they offer, and there are more recording options on the Blue Yeti: record yourself, record one-on-one with someone sitting across from you, record with multiple people in the same room, etc. The Blue Yeti has been a great fix for me to get a more crisp, clear sound whenever I’m recording my podcast.
PODCAST SETUP
The last thing I want to cover is your podcast setup. I want to remind you just to keep it simple. Work with what you have right now, and remember that you can always upgrade in the future. Don’t let your podcast setup hold you back from getting started.
Links Mentioned in This Episode:
- TheBestPodcastBook.com
- Facebook Group for Podcast Book Launch Team
- The Ultimate Podcast Checklist
- 9 Ways to Brainstorm Podcast Ideas
- The Poddy Report
- 500+ Podcast Ideas for Any Industry
- Proffitt Podcast Online Community Facebook Group
- Proffitt Podcasting Course
- Podcast YouTube Channel
- 5-Day Podcast Bootcamp
Don’t Miss Future Episodes!
Subscribe Now:
Apple Podcasts
Google Play
Spotify

")


_San_Serif[1]")
Comments +